

Introduction to the CO3 Platform


On our platform, we help our customers benefit from transport data provided by multiple Carriers, in one place and in real time.
In order to be able to make vehicle positions available to you, the Carrier should start by registering for an account. To do so, simply provide him with a link to the registration form.
Logging into the platform:
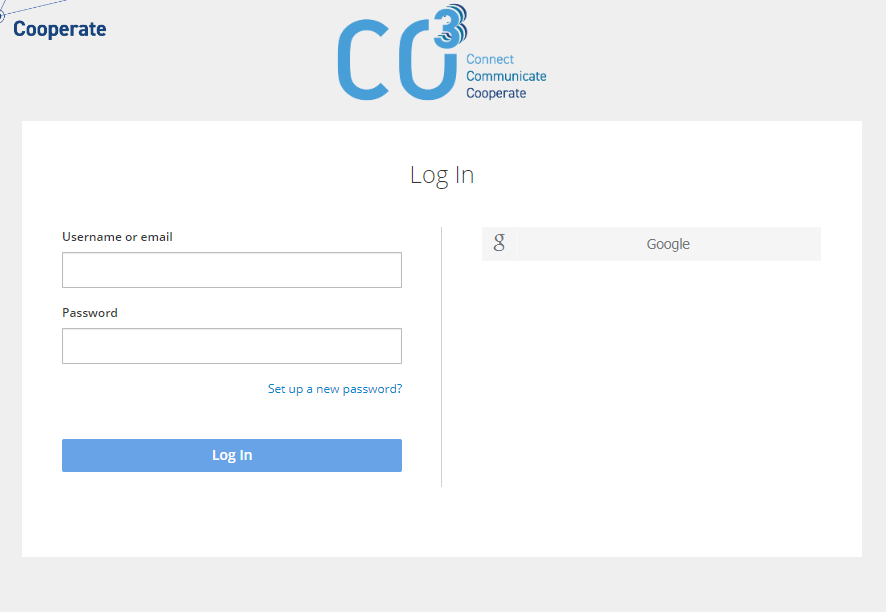
1. Click on the link to the login page received in the email or enter the address in your browser: https://track.co3.eu/
2. On the opened page, you need to enter your email address provided when registering your account and the password you created.
Downloading the registration link:
1. After logging in, go to Carriers.
2. Click on the Invitation link: permanent button placed in the top right corner:
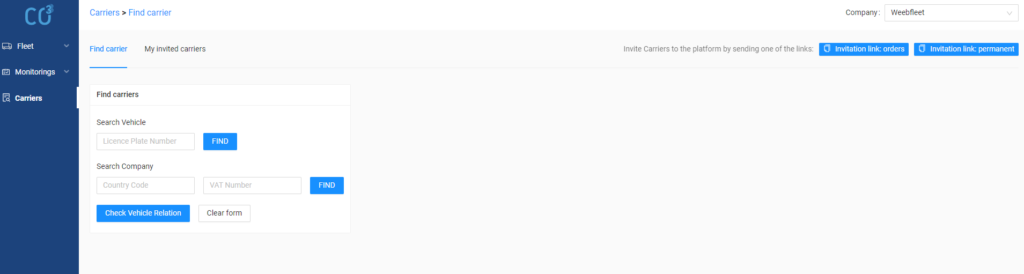
3. The link has been downloaded. Paste it into a message and send it to the Carriers you are working with.
Carrier registration:
- The carrier must complete the form provided at the link received, provide his details, his company’s details and information about the GPS equipment used in his fleet. The carrier also agrees to permanently share the position and other data obtained from its vehicles using GPS.
- The next step after registration is to integrate the Carrier’s vehicles on the platform. A dedicated Customer Care team contacts the Carrier by email or phone to connect with their fleet via the GPS service provider.
- In the meantime, the account on the platform is already established and the Carrier can log into it.
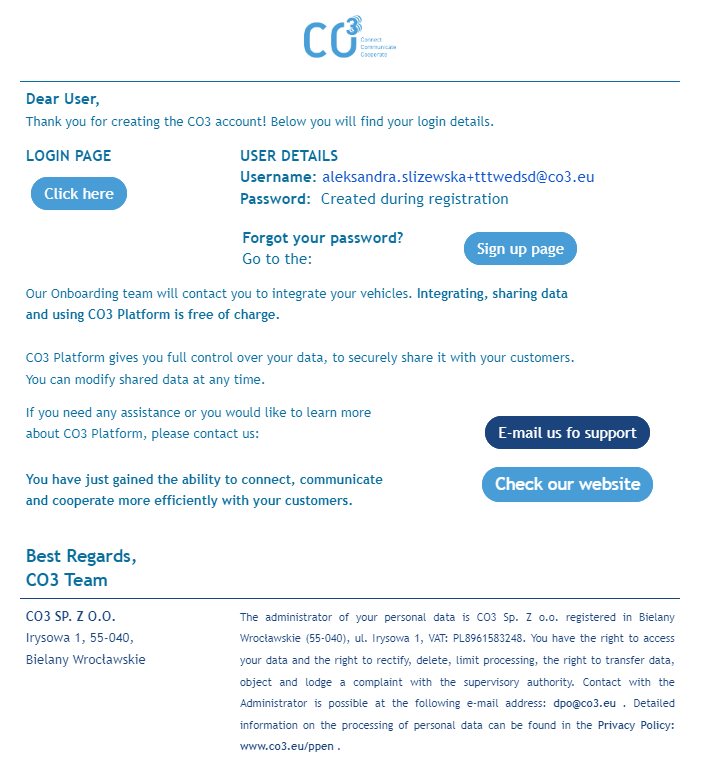
- Once an account has been registered on our Platform, the Carrier will receive an email with login details.
Fleet overview and Fleet sharings tab
After logging in, a page opens with a list of the vehicles that the Carriers have made available to you for tracking (if the list is empty, this means that the Carriers’ vehicles have not yet been integrated).
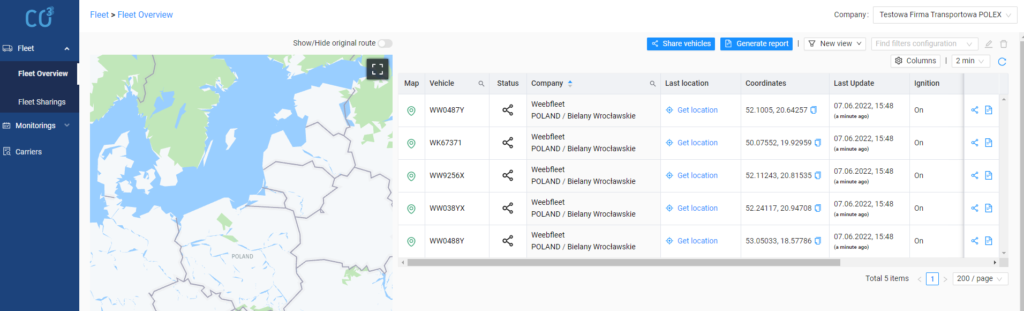
Available features:
Sharing the position of the vehicle(s) with the recipient.
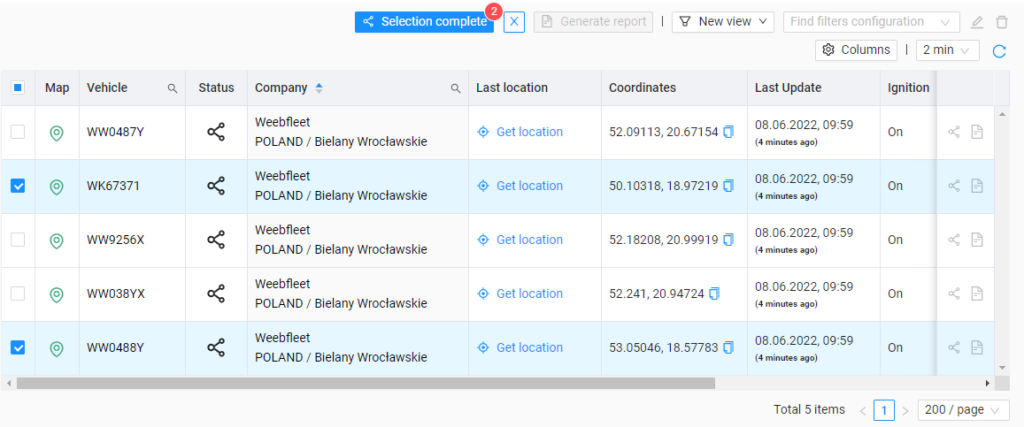
1. Click in Share vehicles button:

2. In the first column, select the vehicles you wish to make available and confirm your selection with the Selection complete:
3. Indicate the recipient’s email address, the dates of the sharing period and the type of sharing:
- Can share – the recipient will be able to continue to share positions of vehicles without additional permission from the owner, but not for longer than you have the owner’s permission;
- Can view – the recipient will only receive a 24/7 view of the position of the vehicles.

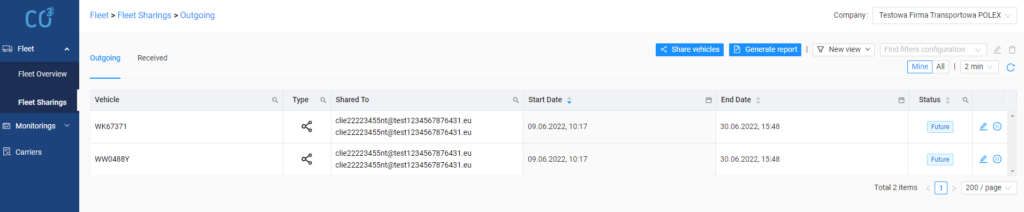
4. Check the list of available vehicles in Fleet sharings – Outgoing tab.
5. Edit or stop sharing by selecting the buttons in the last column.
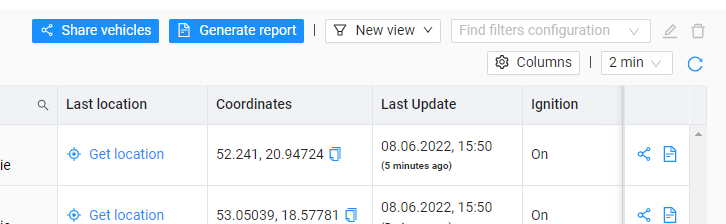
Vehicle report generation
1. Click on Generate report button.
2. Select a vehicle from the list, enter the time interval and select a file format.
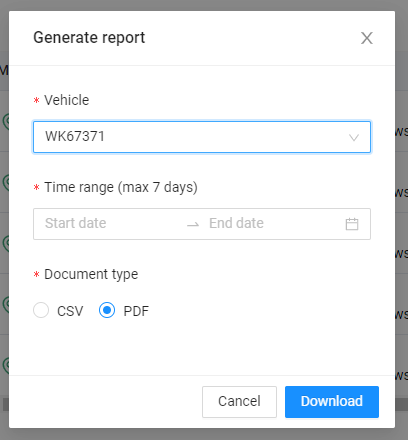
3. Download the report.
4. The downloaded report contains basic information about the route of the indicated vehicle in the specified period, a visualisation of the route on the map and a list of exact locations received via GPS from the vehicle route (a list of so-called pings).

Personalised table views
You can save different views in the table and switch between them without having to filter the selected vehicles each time. To save your view you need to:
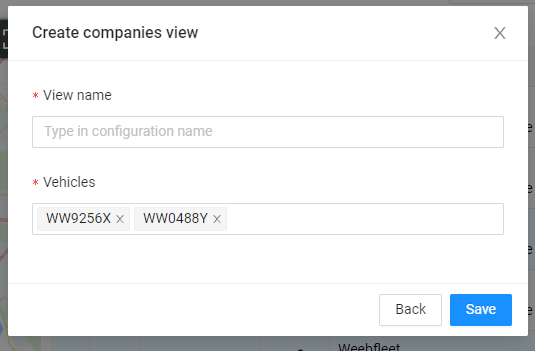
1. Click New view and select New vehicles view.

2. Select in the first column the vehicles you wish to add to your view and confirm your selection by clicking Confirm selection.
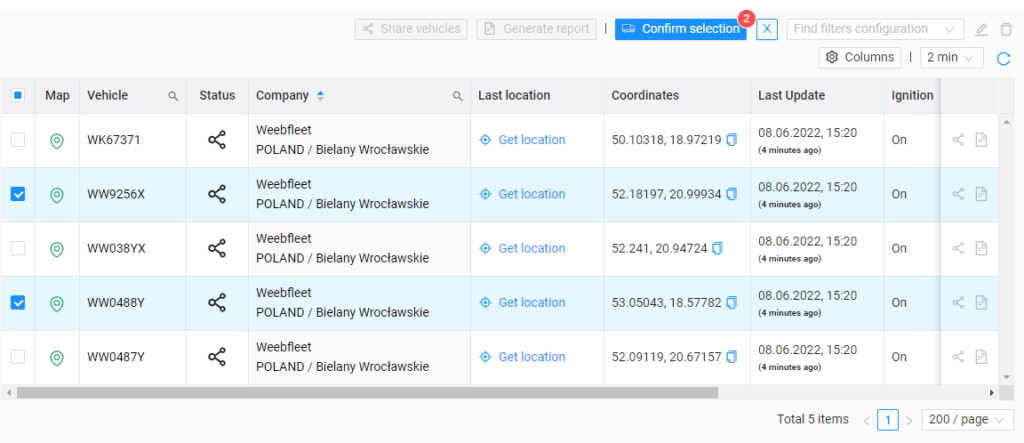
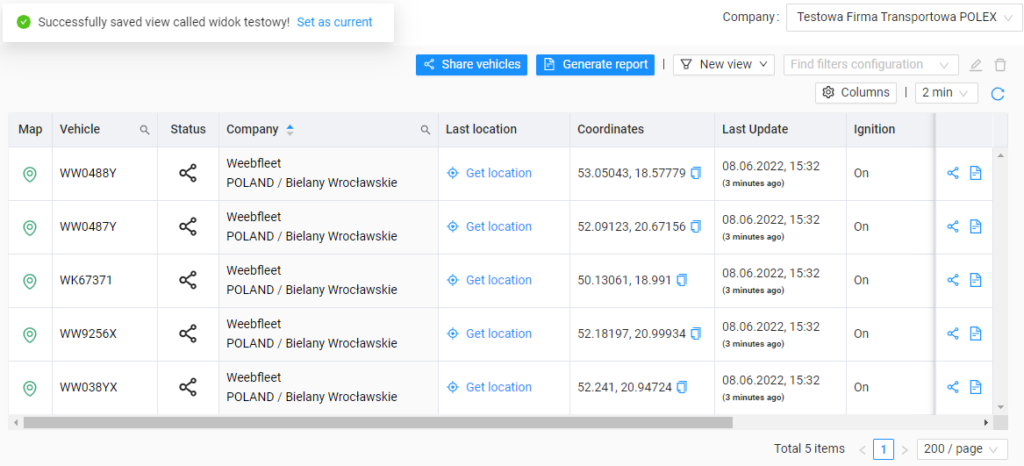
3. Name the view and click Save.
4. If you want to set a saved view as the current view, click Set as current
5. The saved view can be selected from the list available in the field Find filters configuration
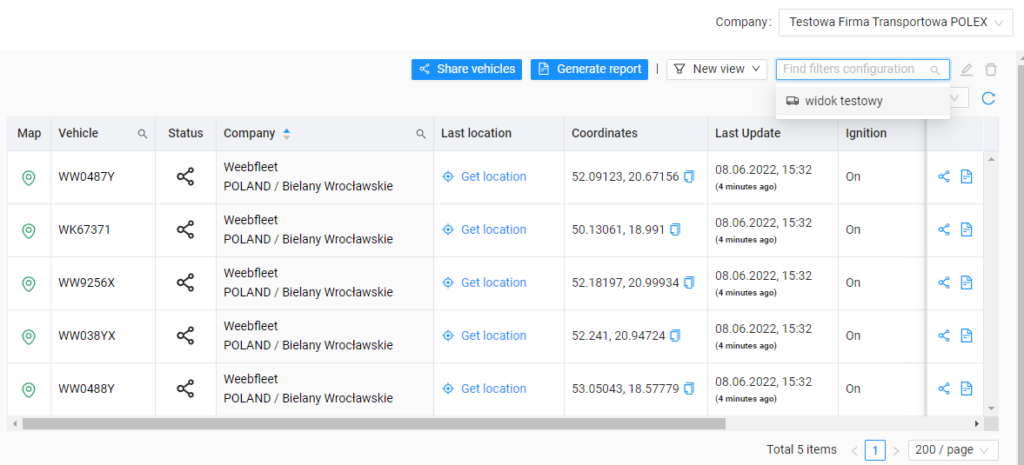
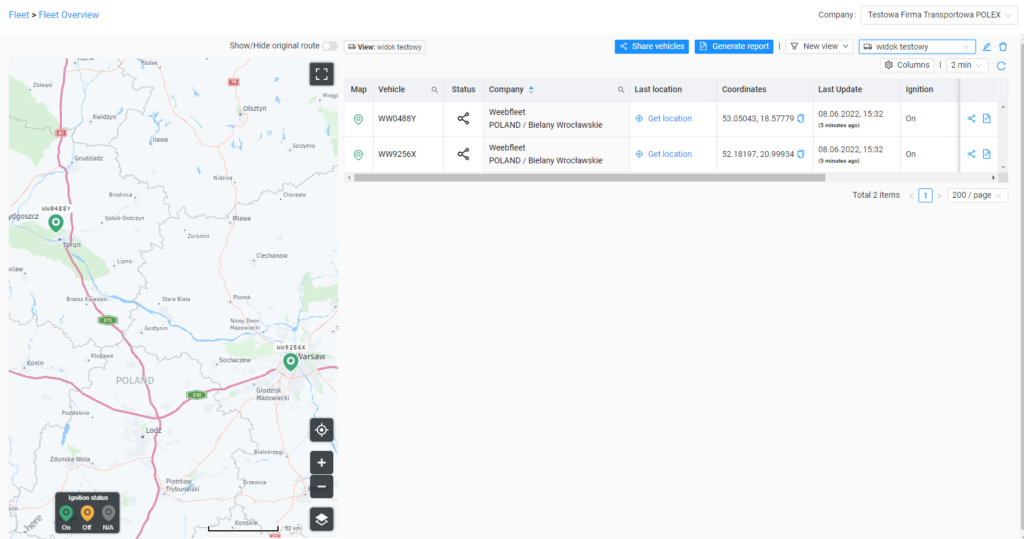
6. The selected view adjusts the table and map to the indicated range. It can be edited or deleted by clicking the pencil or bin icons next to the view name field.
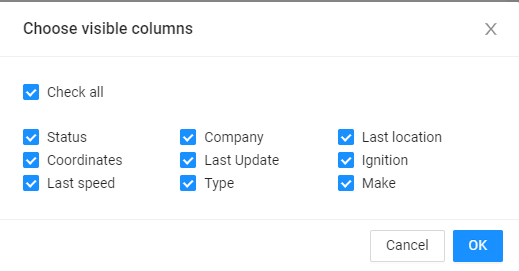
Adjusting the column view in a table
In the table, you can indicate which columns should be visible in addition to the mandatory ones.
1. Click on Columns button.
2. Select which columns you want to be visible in your table and confirm by clicking OK.
Quick overview of the vehicle’s last route
1. To check the route your vehicle has taken in the last 24 hours, click on the pin in the table (Show on map) next to the selected vehicle:
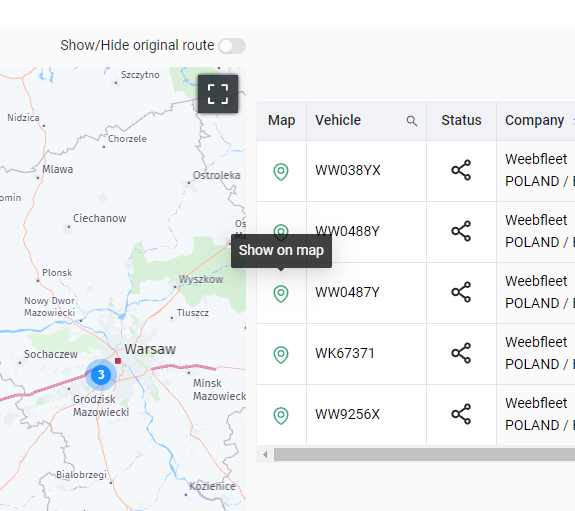
2. The current location of the vehicle, together with its data, will open up on the map:
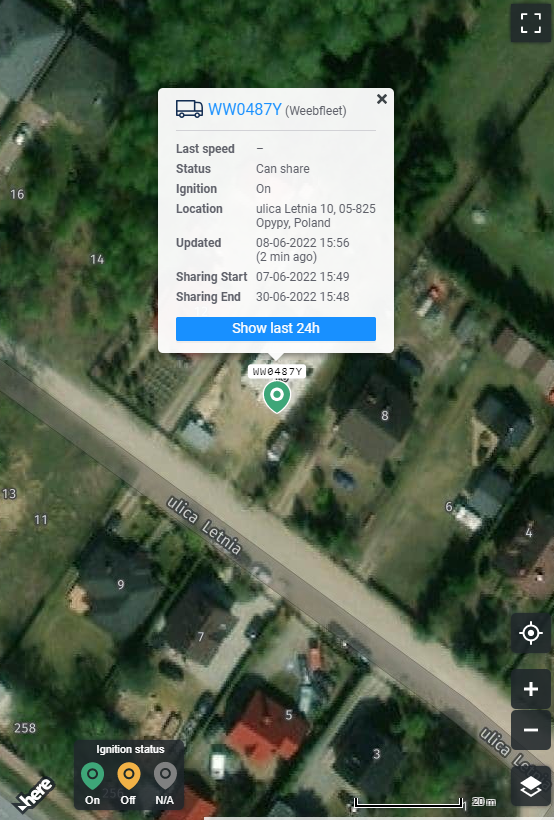
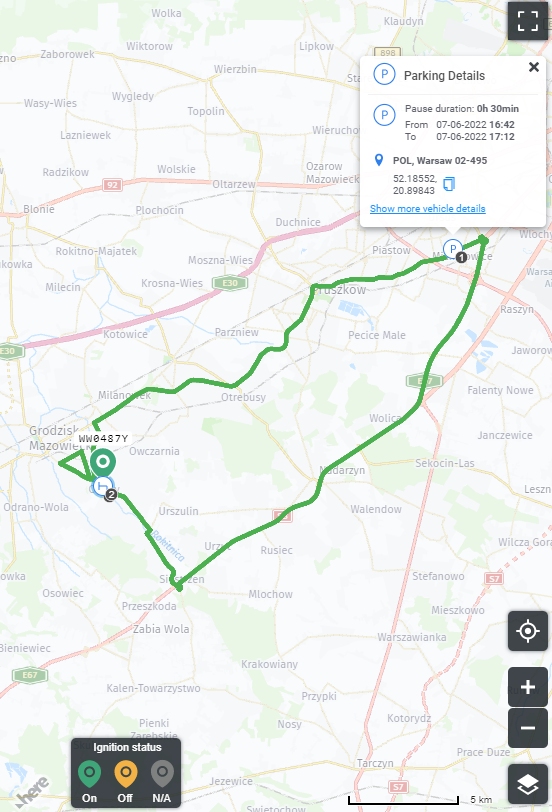
3. On the map, click Show last 24h – the route of the vehicle will be plotted. Clicking on the P or H icon will open up information about stops on the route:
If you have any questions or problems when logging in, kindly contact us at: help@co3.eu